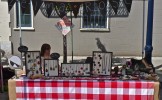
I was brainstorming a clever platform in which to film Renegade Craft Fair in Brooklyn this weekend and it hit me. I will make official press badges! LAMINATED PRESS BADGES.
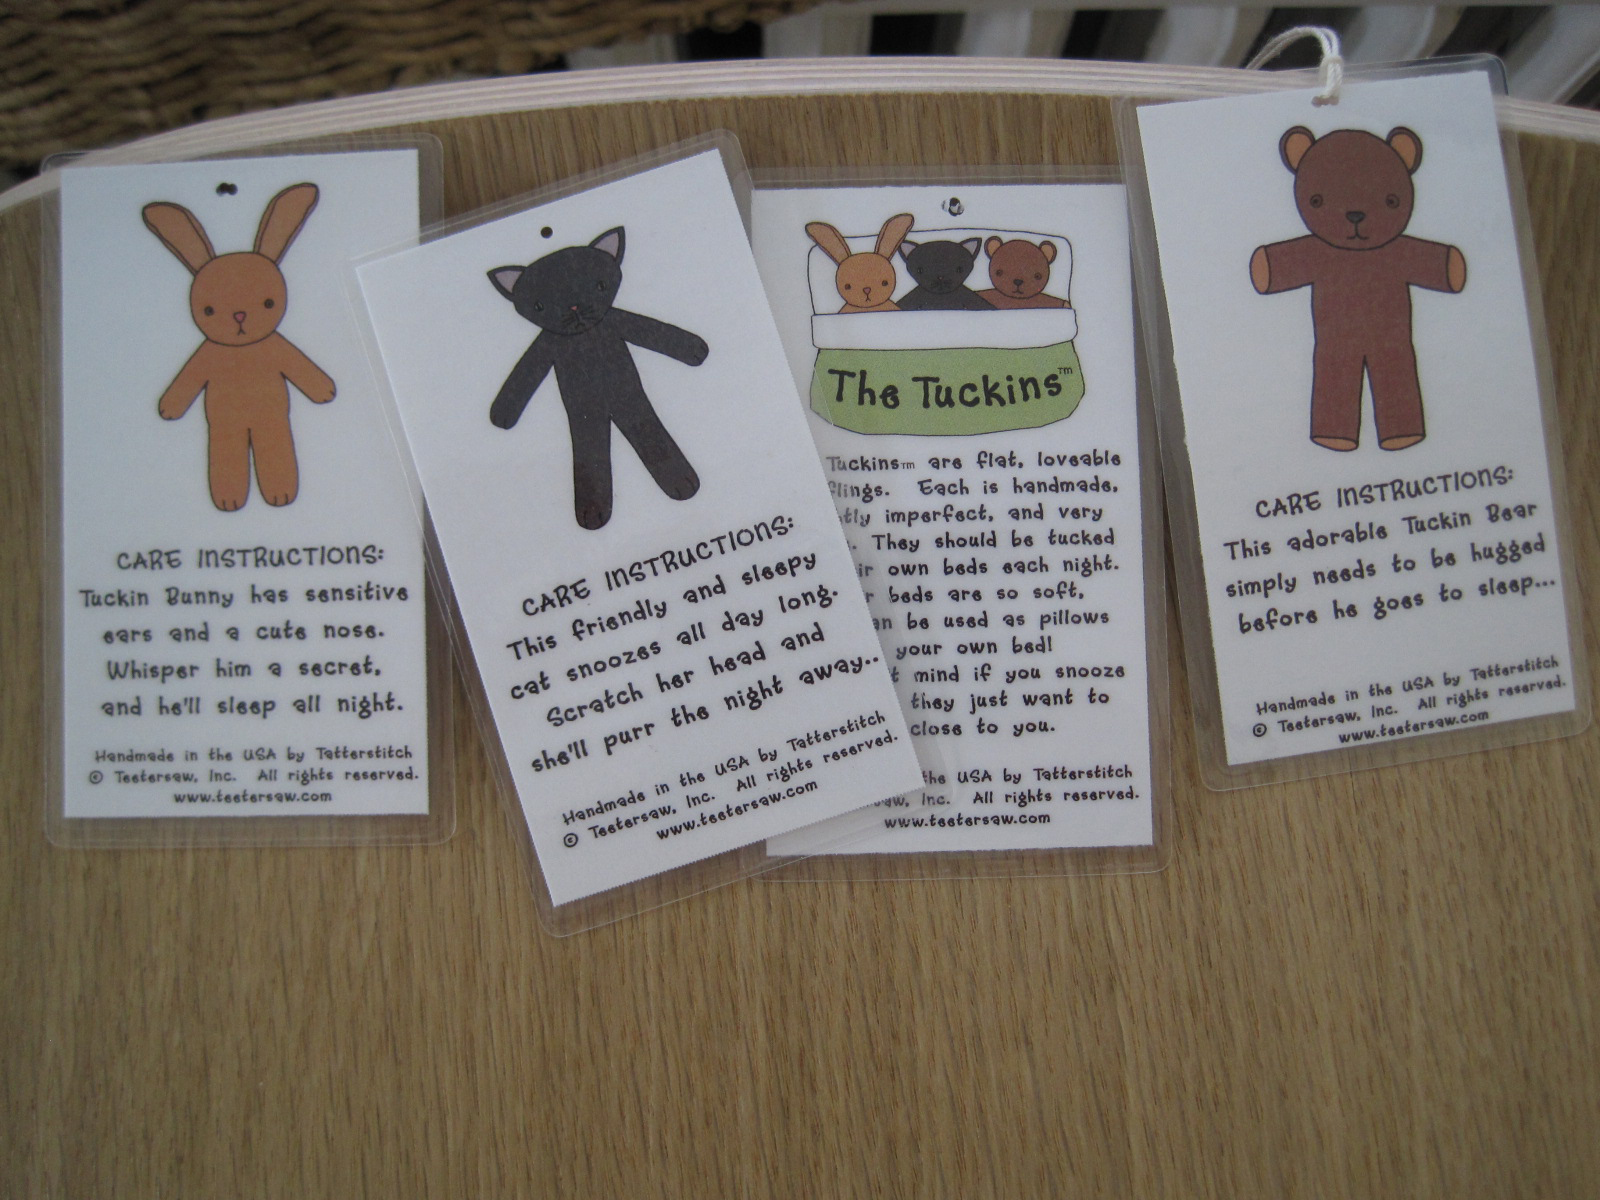
I had all the stuff from my toy design business so it was easy to figure out how to make a press badge. I used a laminator to laminate small signs and product tags for my limited edition handmade dolls. I really liked laminating.
The “Official Craft Correspondents,” comedic actors, Malary Lynn Harris, Christopher Nicoletti and some “camera holding guy” will be interviewing some of the great artists who will be exhibiting at the show. So they will have the right credentials.
I will have DIY press badges for a DIY indie craft show! It was all coming together. Mwhhhaaaaaa haaaa, I am evilly wringing my hands right now. Follow these steps to learn how to make a press badge that is virtually indestructible and looks great:

How To Build an Artist Website
Sign up for our newsletter and get the book How to Build an Artist Website for free!
UNSUSPECTING JOURNALISTS

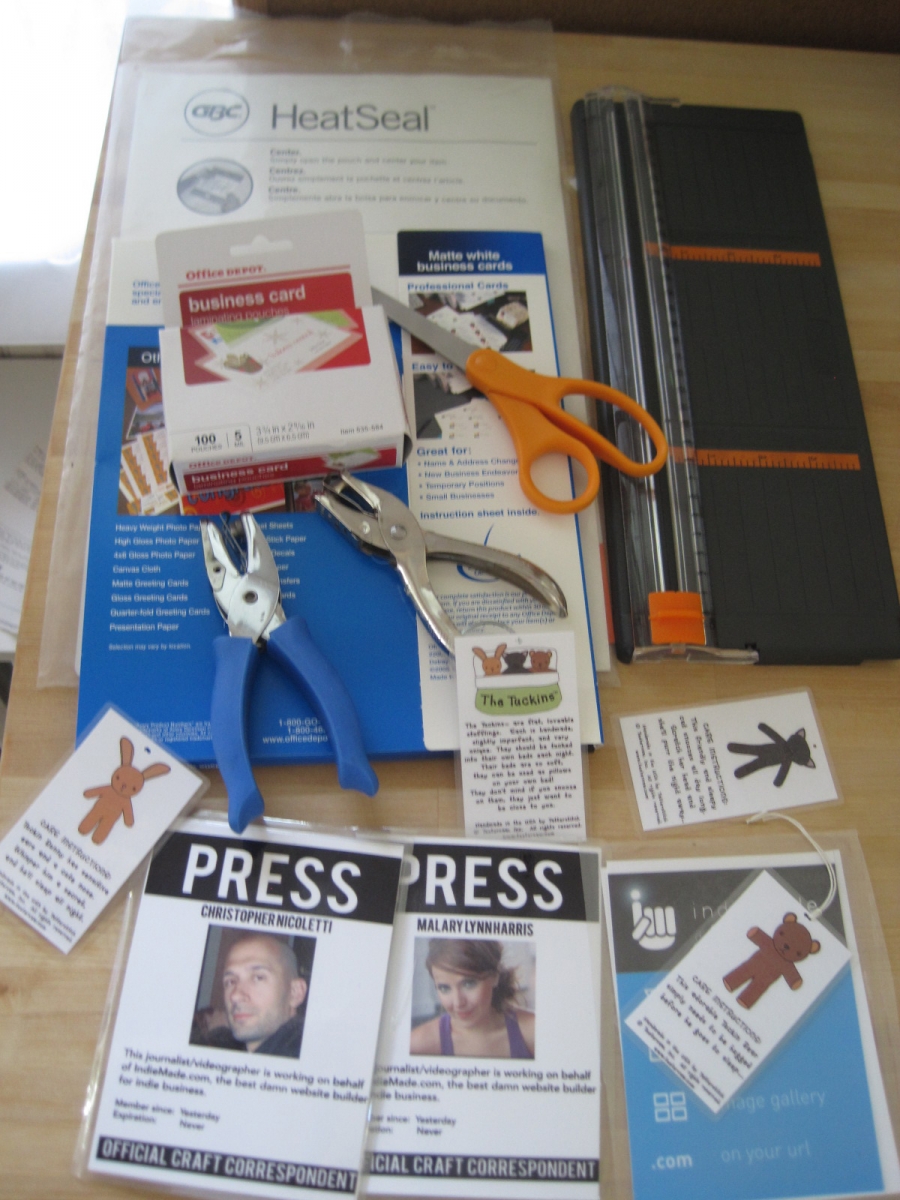
MATERIALS FOR PRESS BADGES
| Paper cutter, scissors, card stock, hole puncher
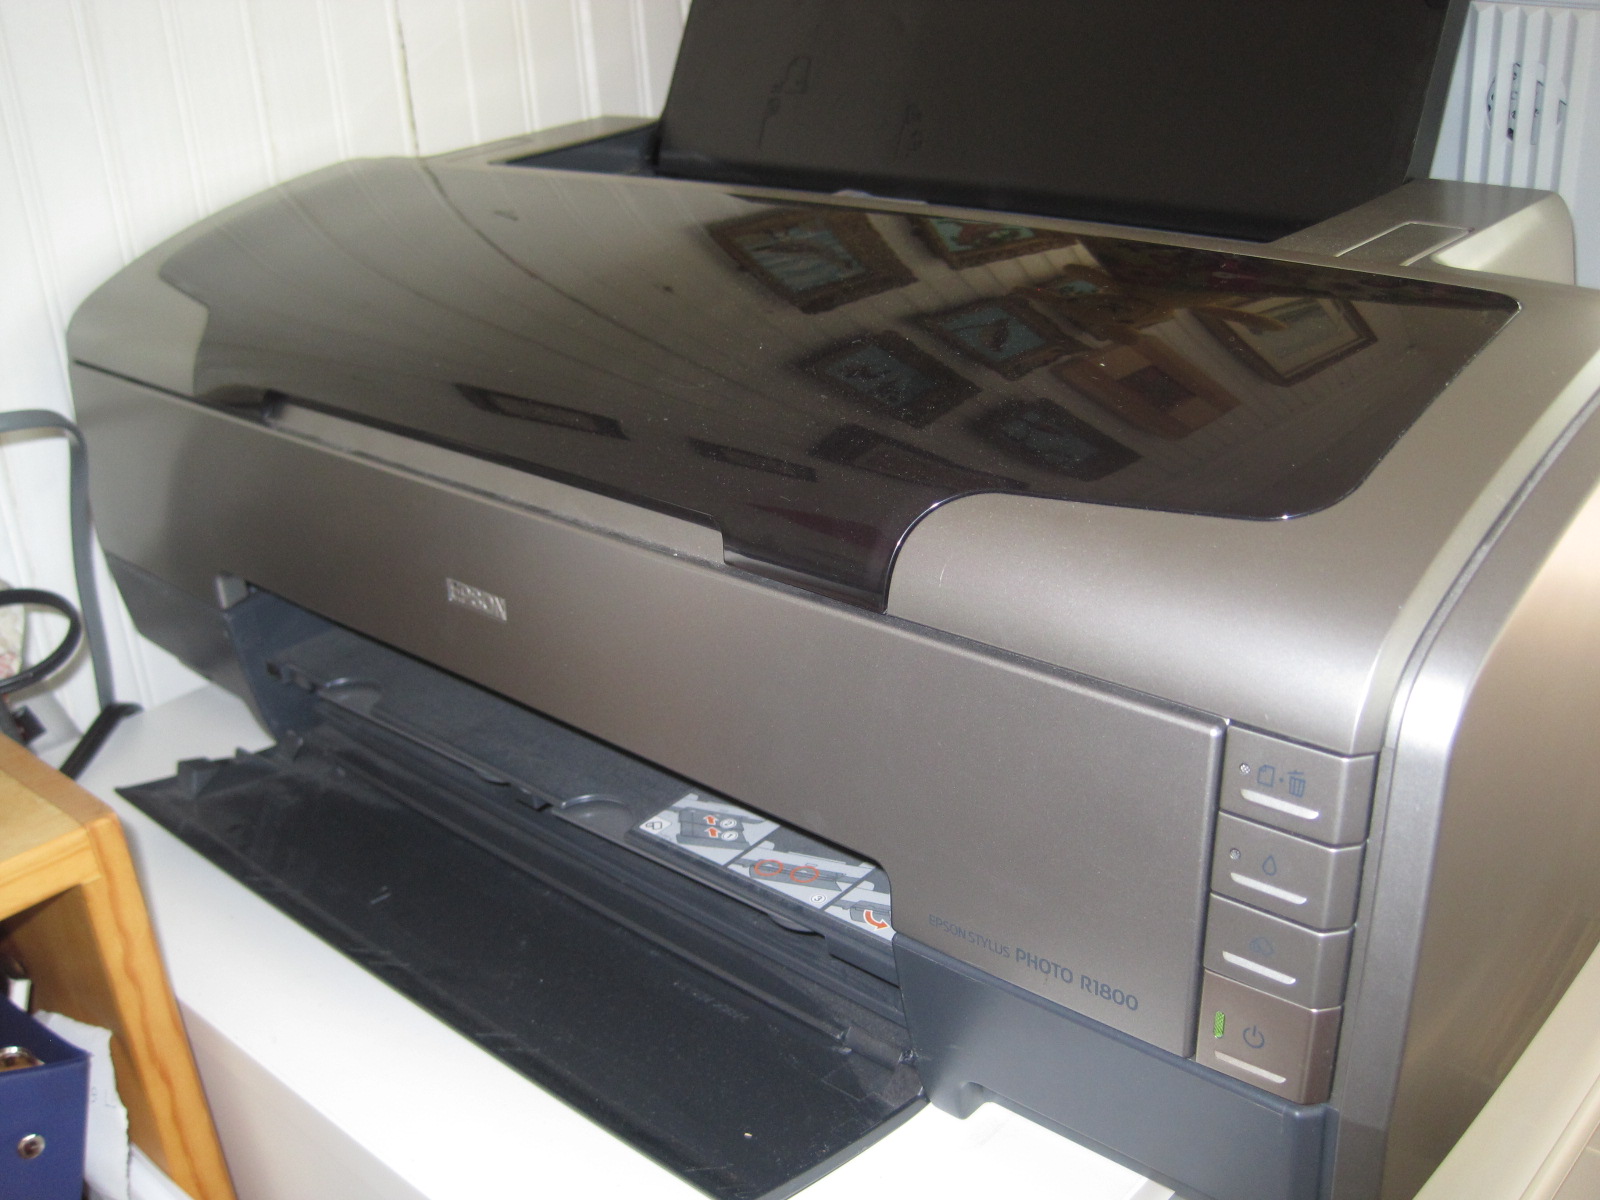
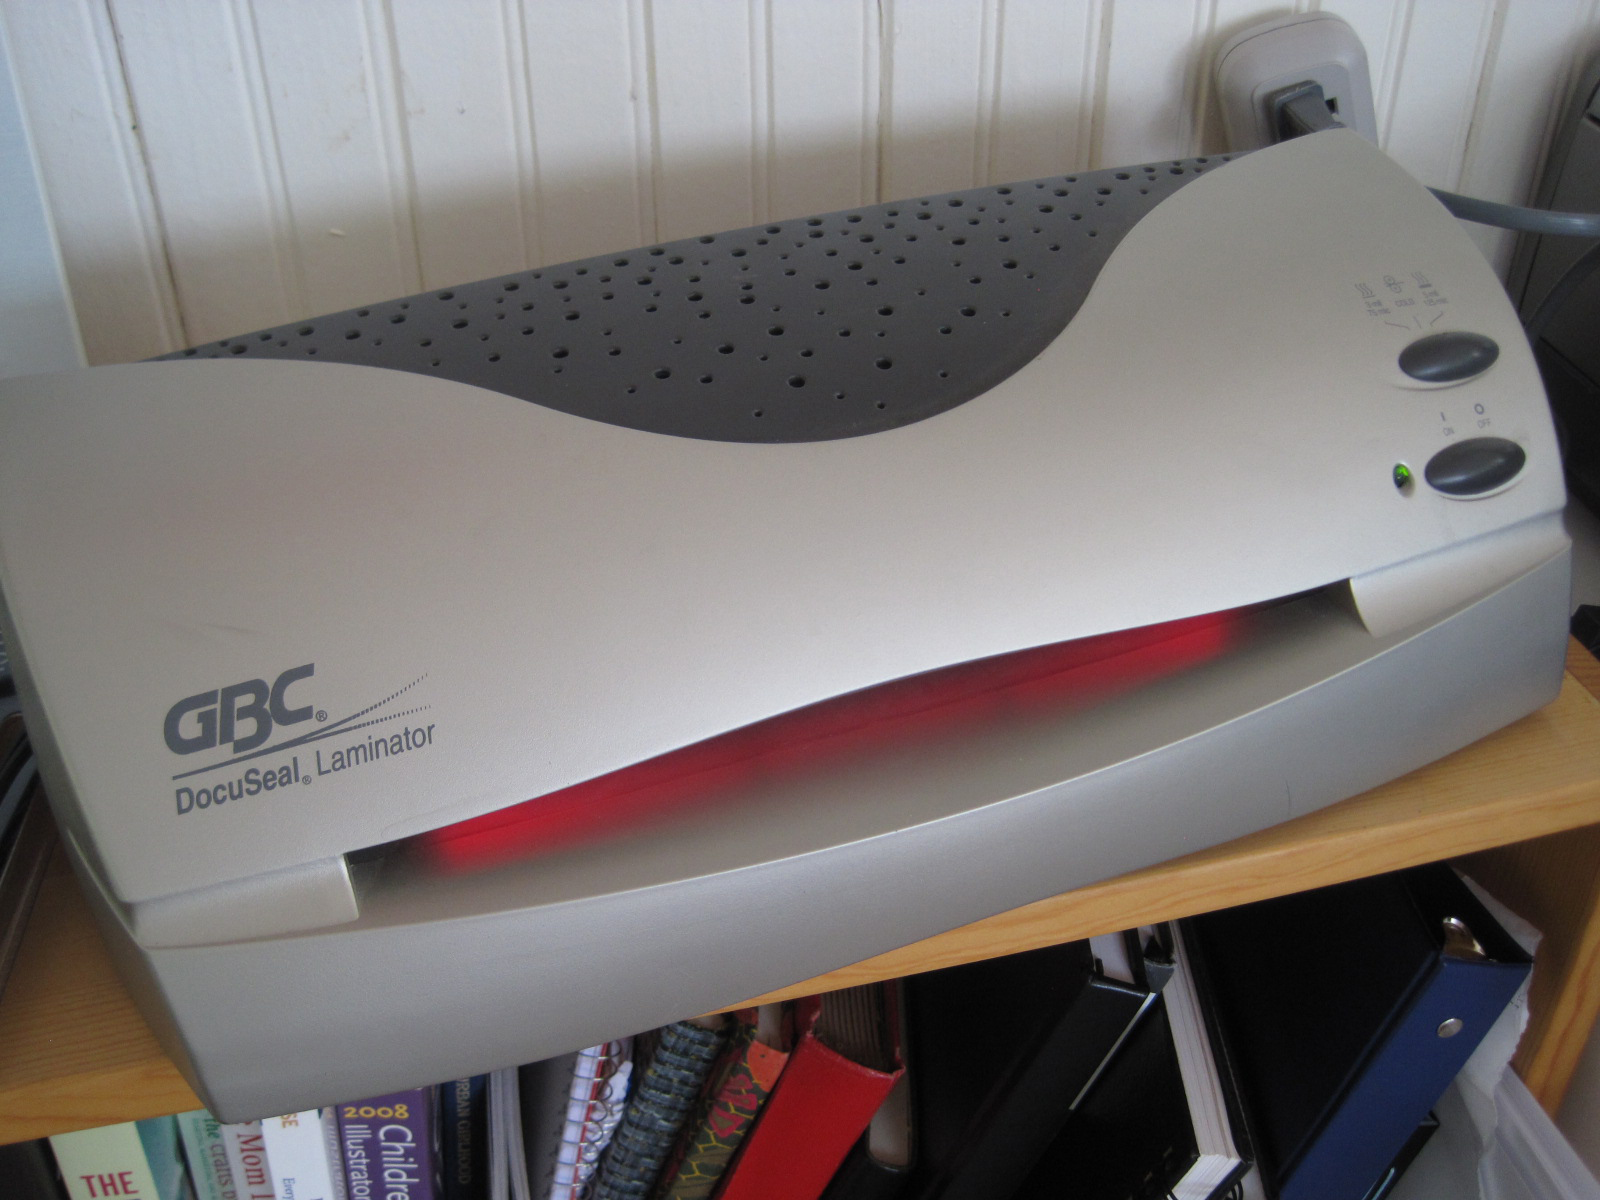
| Color Printer Laminator
|
Business card perforated sheets and business card laminate pouches & sleeves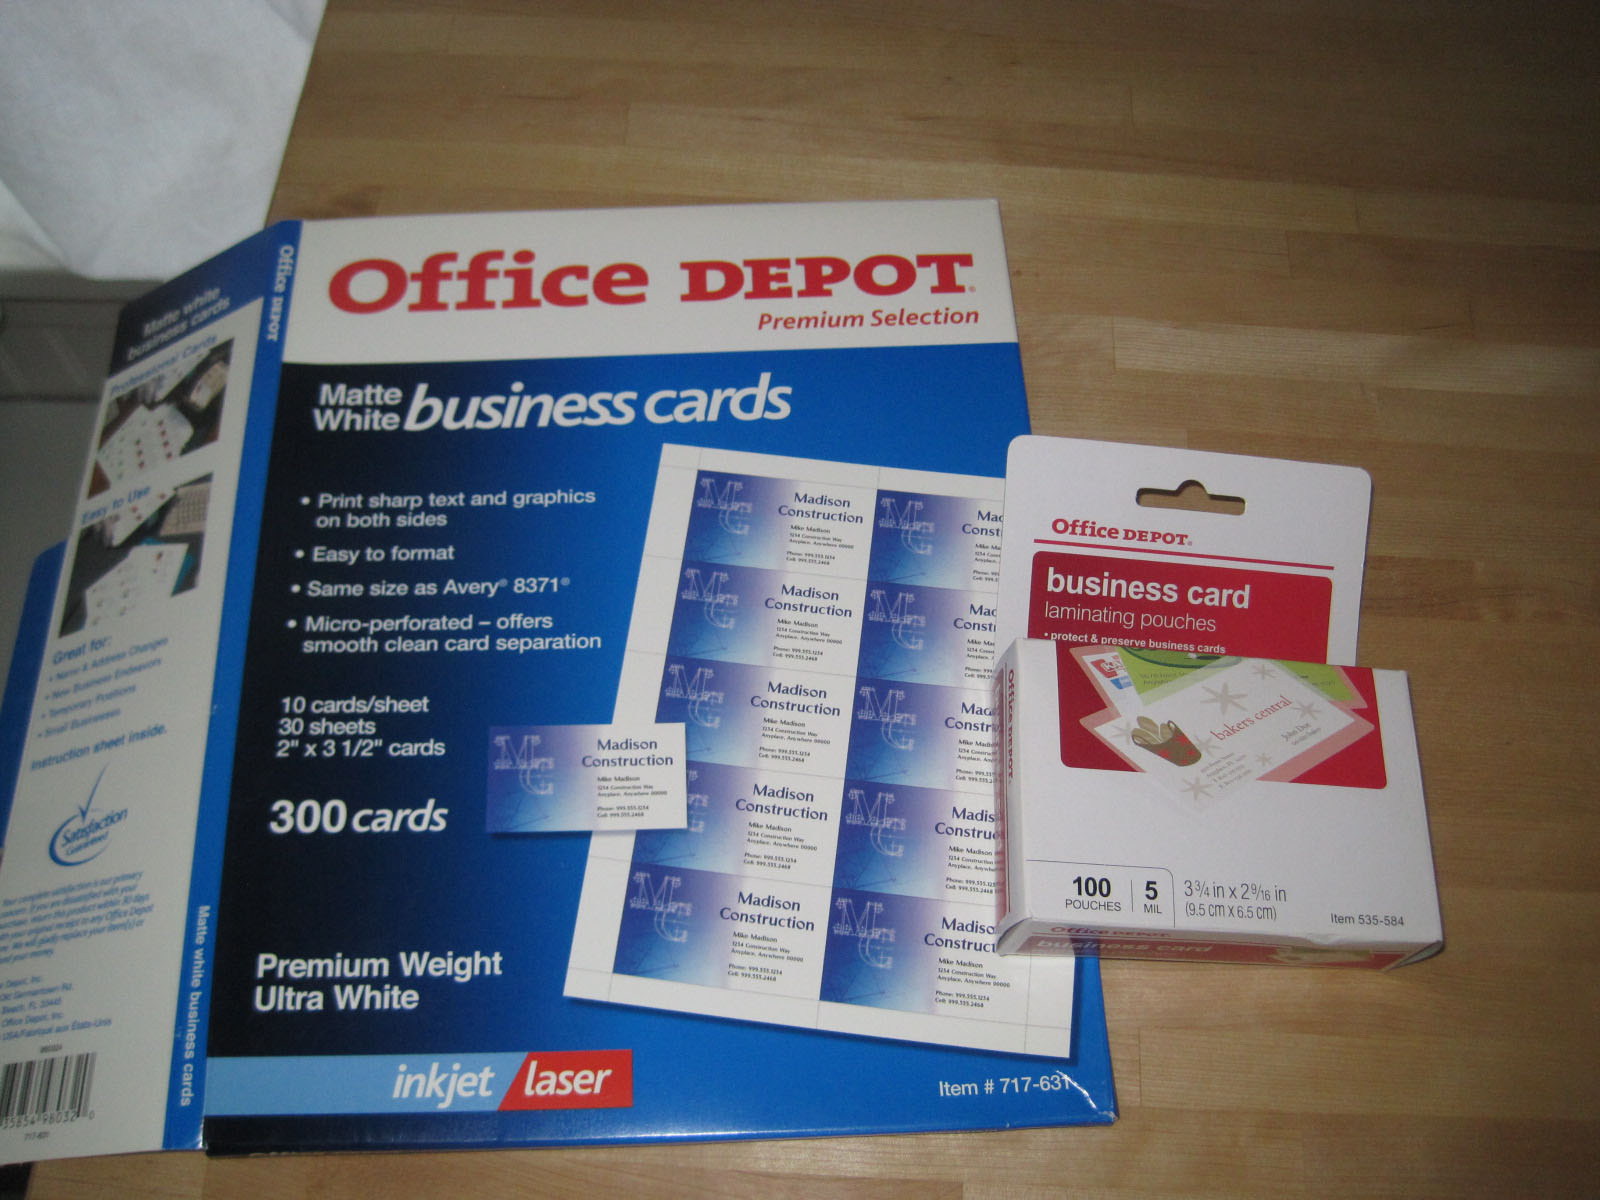 | Laminator pouches & sleeves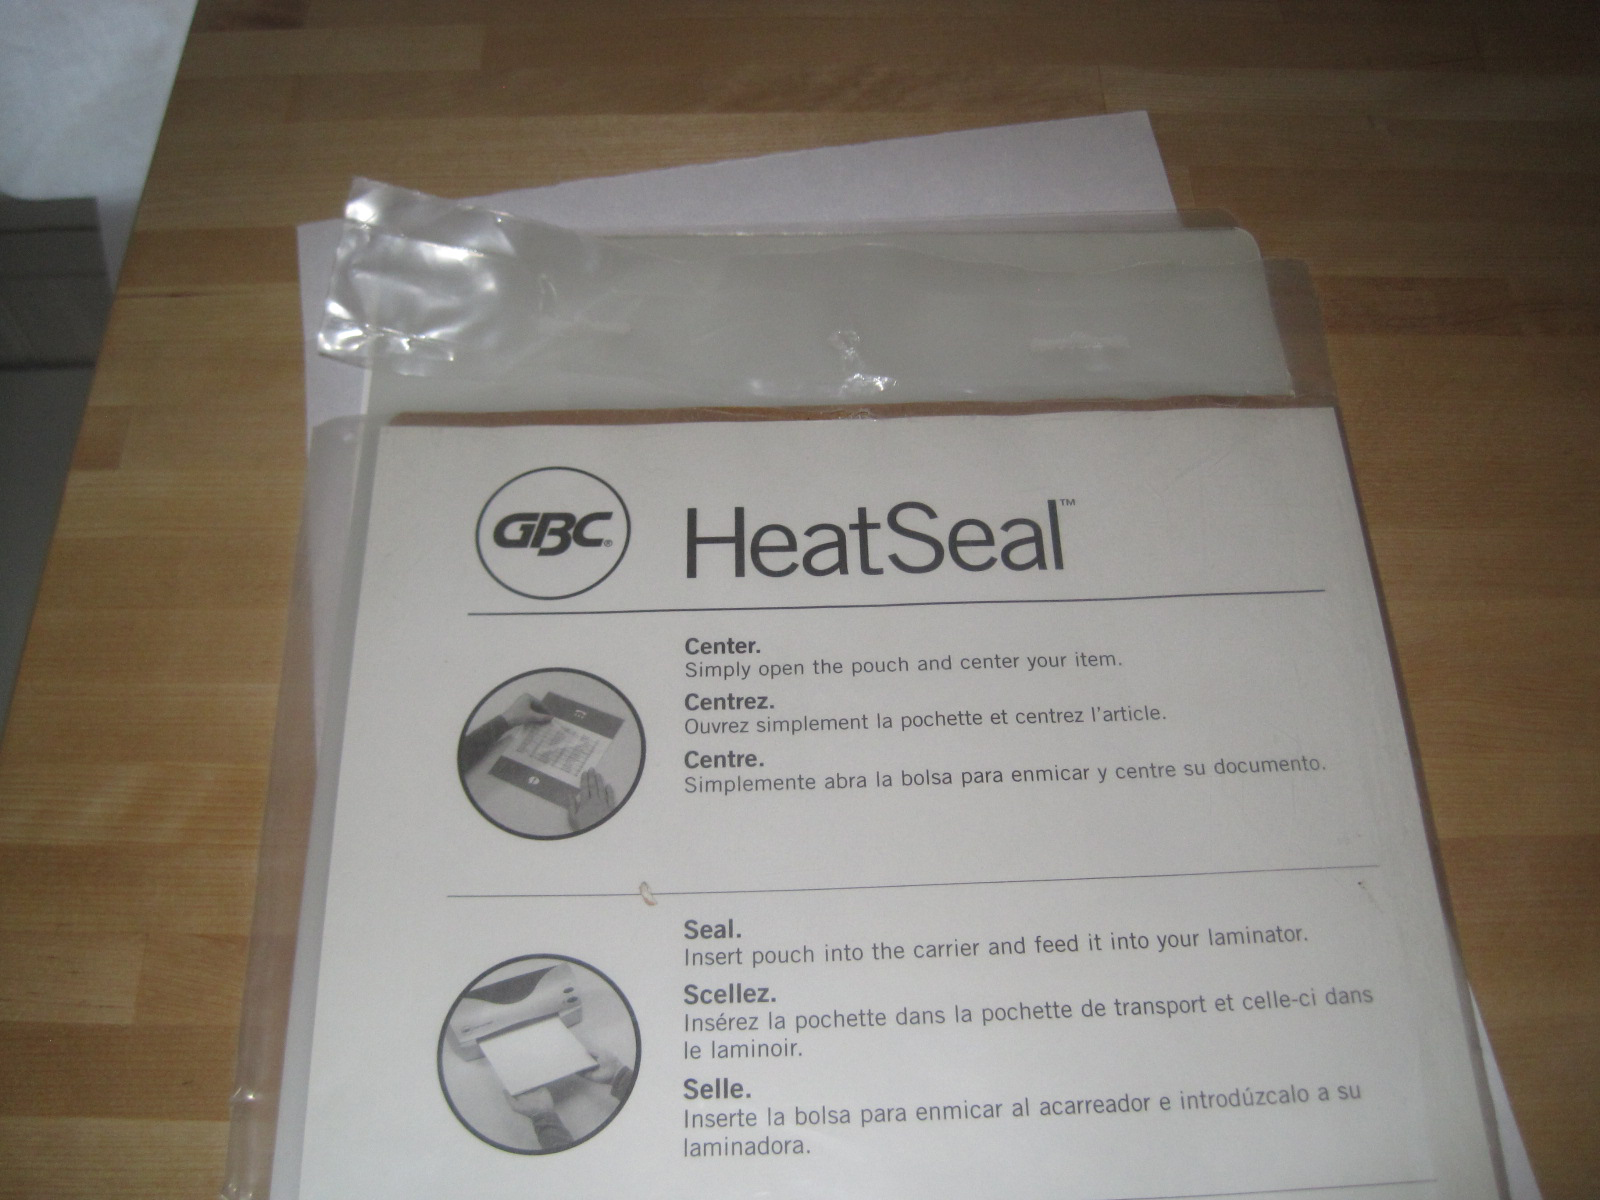 |
STEPS
| Step One: Lay out press badges. I used Adobe Illustrator, but Word, PowerPoint or Publisher would work as well. I used plain card stock and fit two press badges per 8 ½" x 11" sheet. You can get 8 tags/business cards on a sheet. Note: Many graphics programs have preset profiles for different templates. There are free graphic design tools and a great template/layout web application made by Avery. | 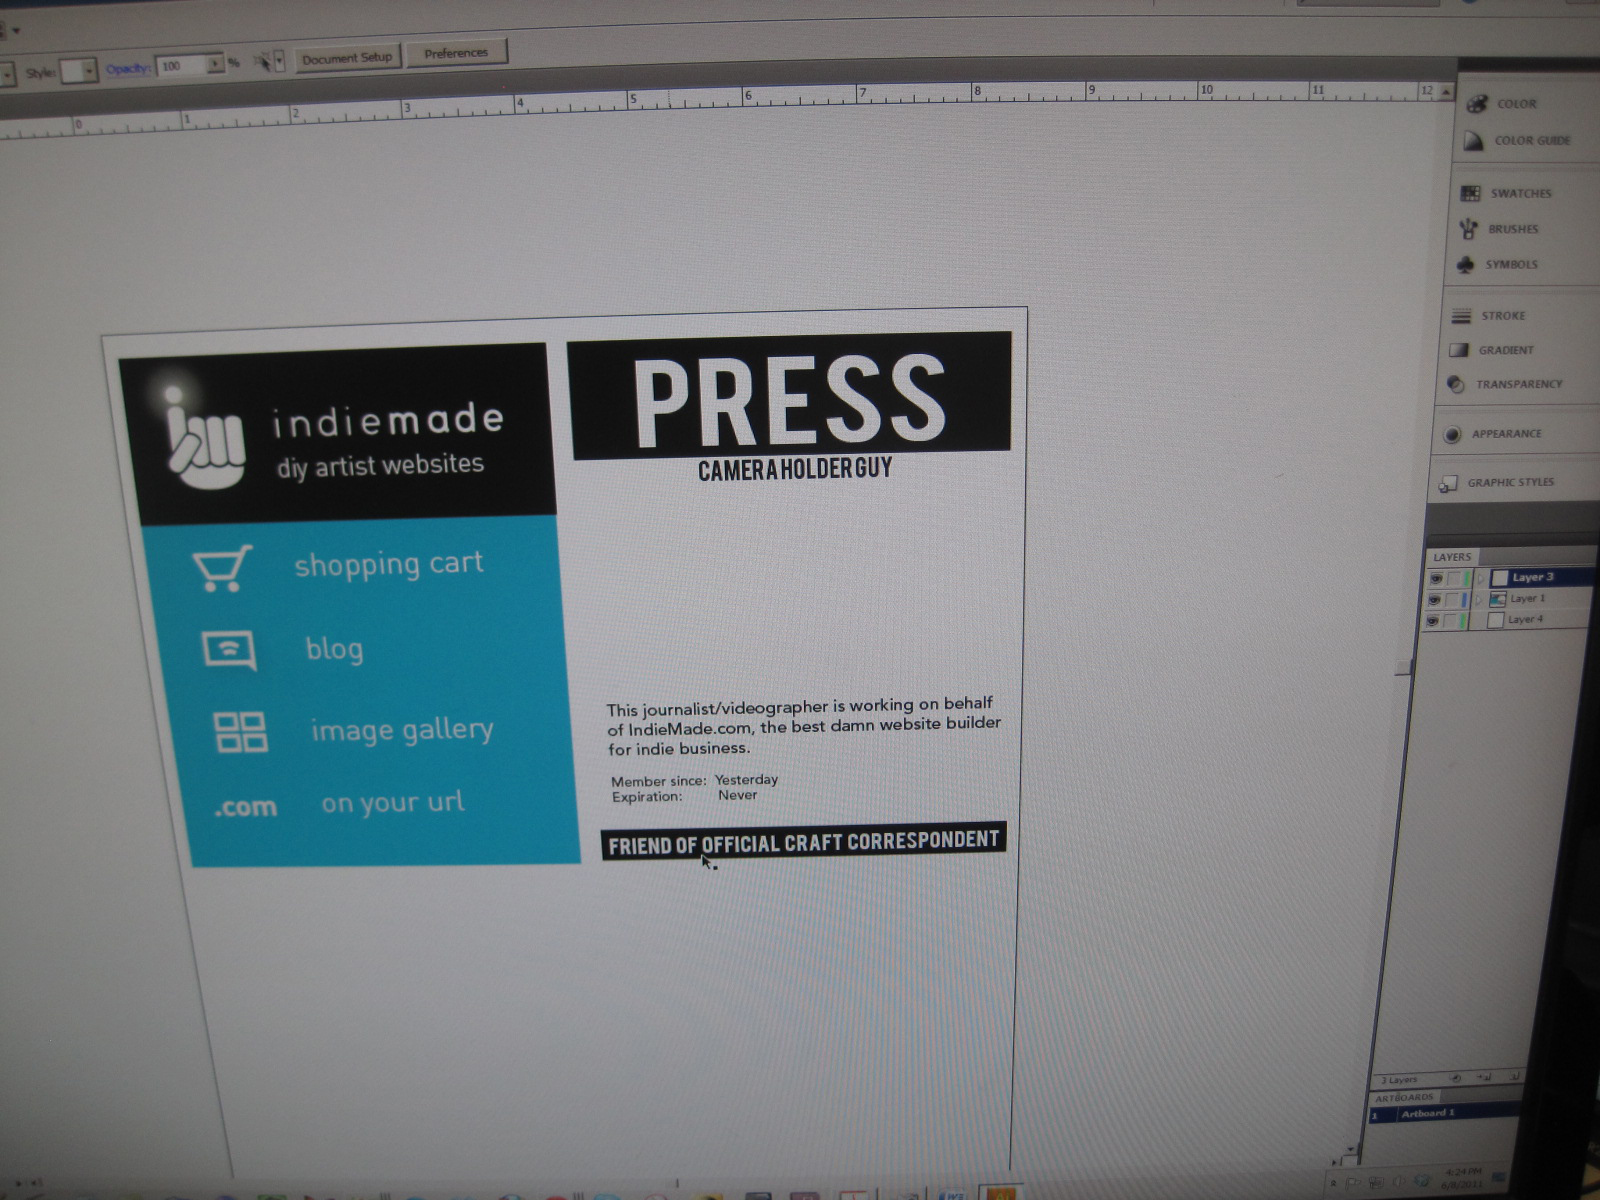 |
| Step Two: Print your design: 2 press badges per page, Cut out all pieces. | 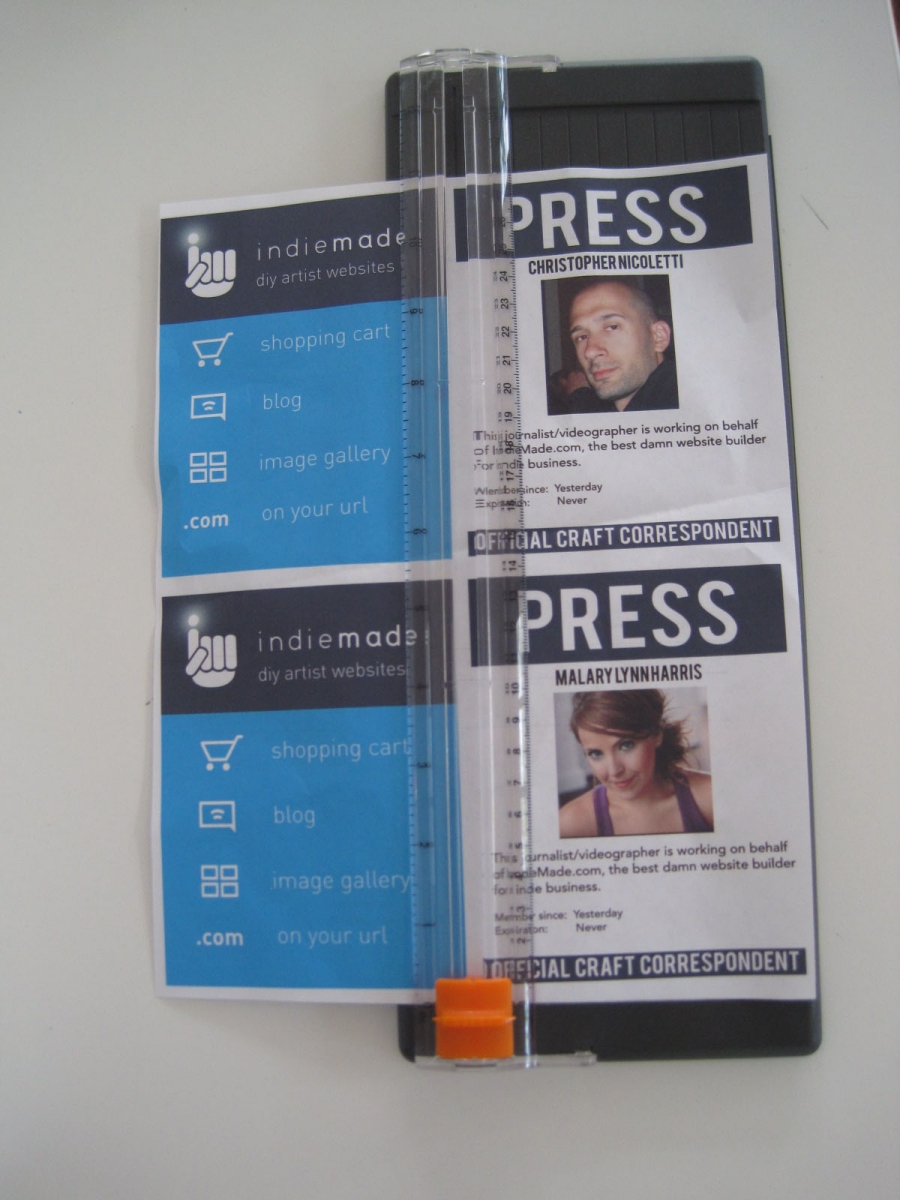 |
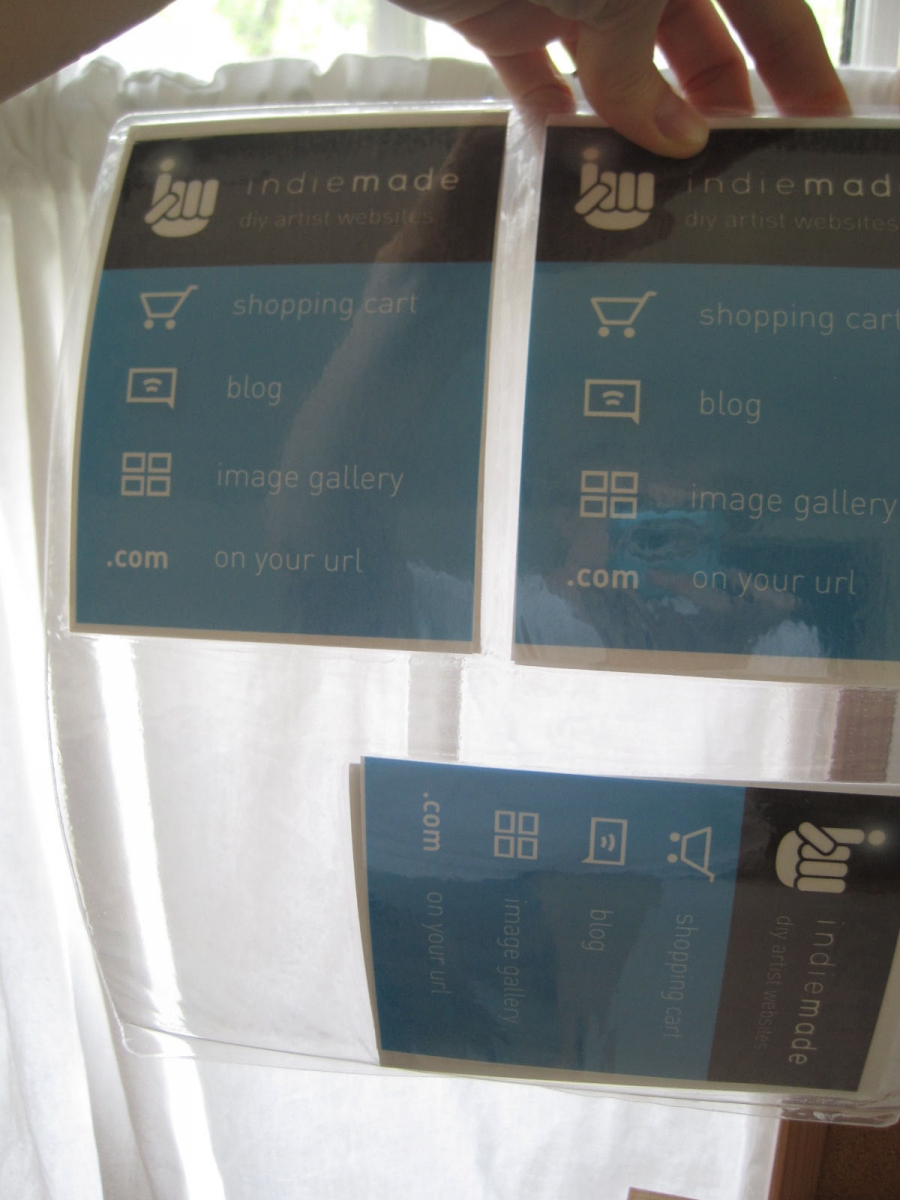
| Step Three: Place press badges back to back in laminated pouch and place in sleeve. | 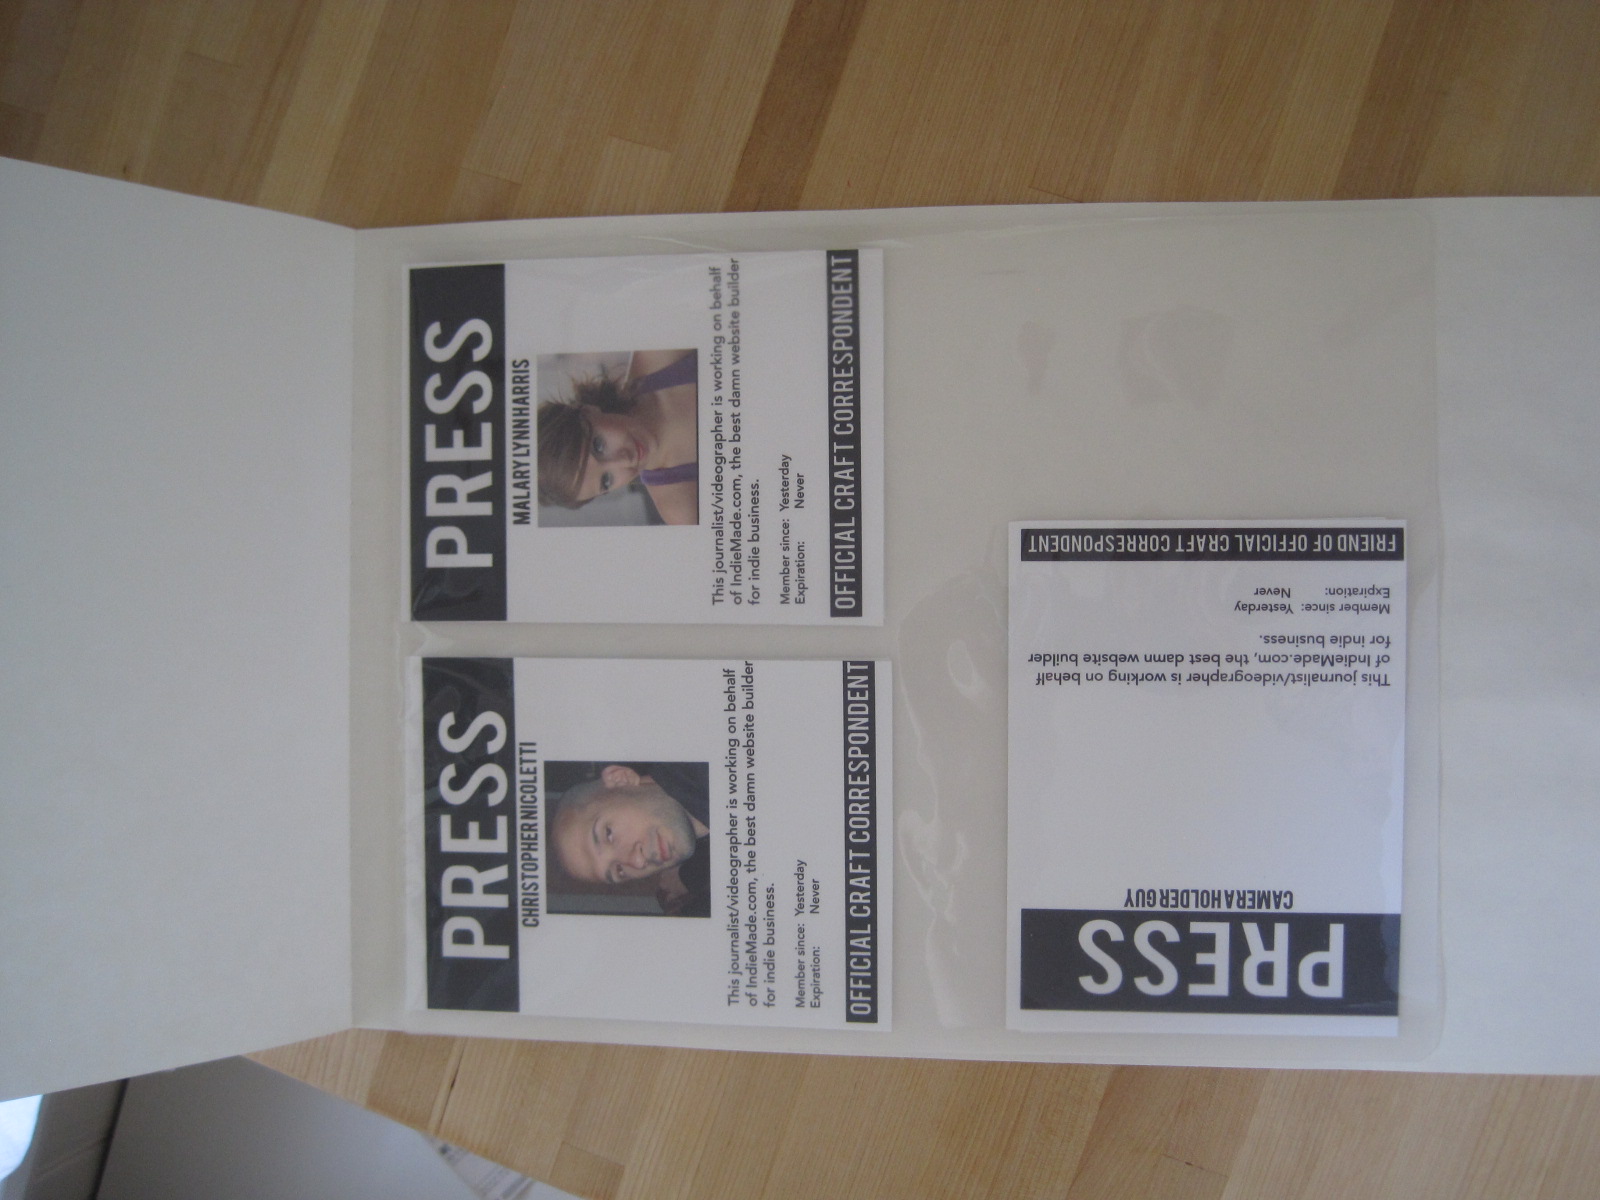 |
|
NOW THE FUN PART! Step Four: (make sure the laminator is nice and hot) Feed laminate sleeve with press badges through laminator | 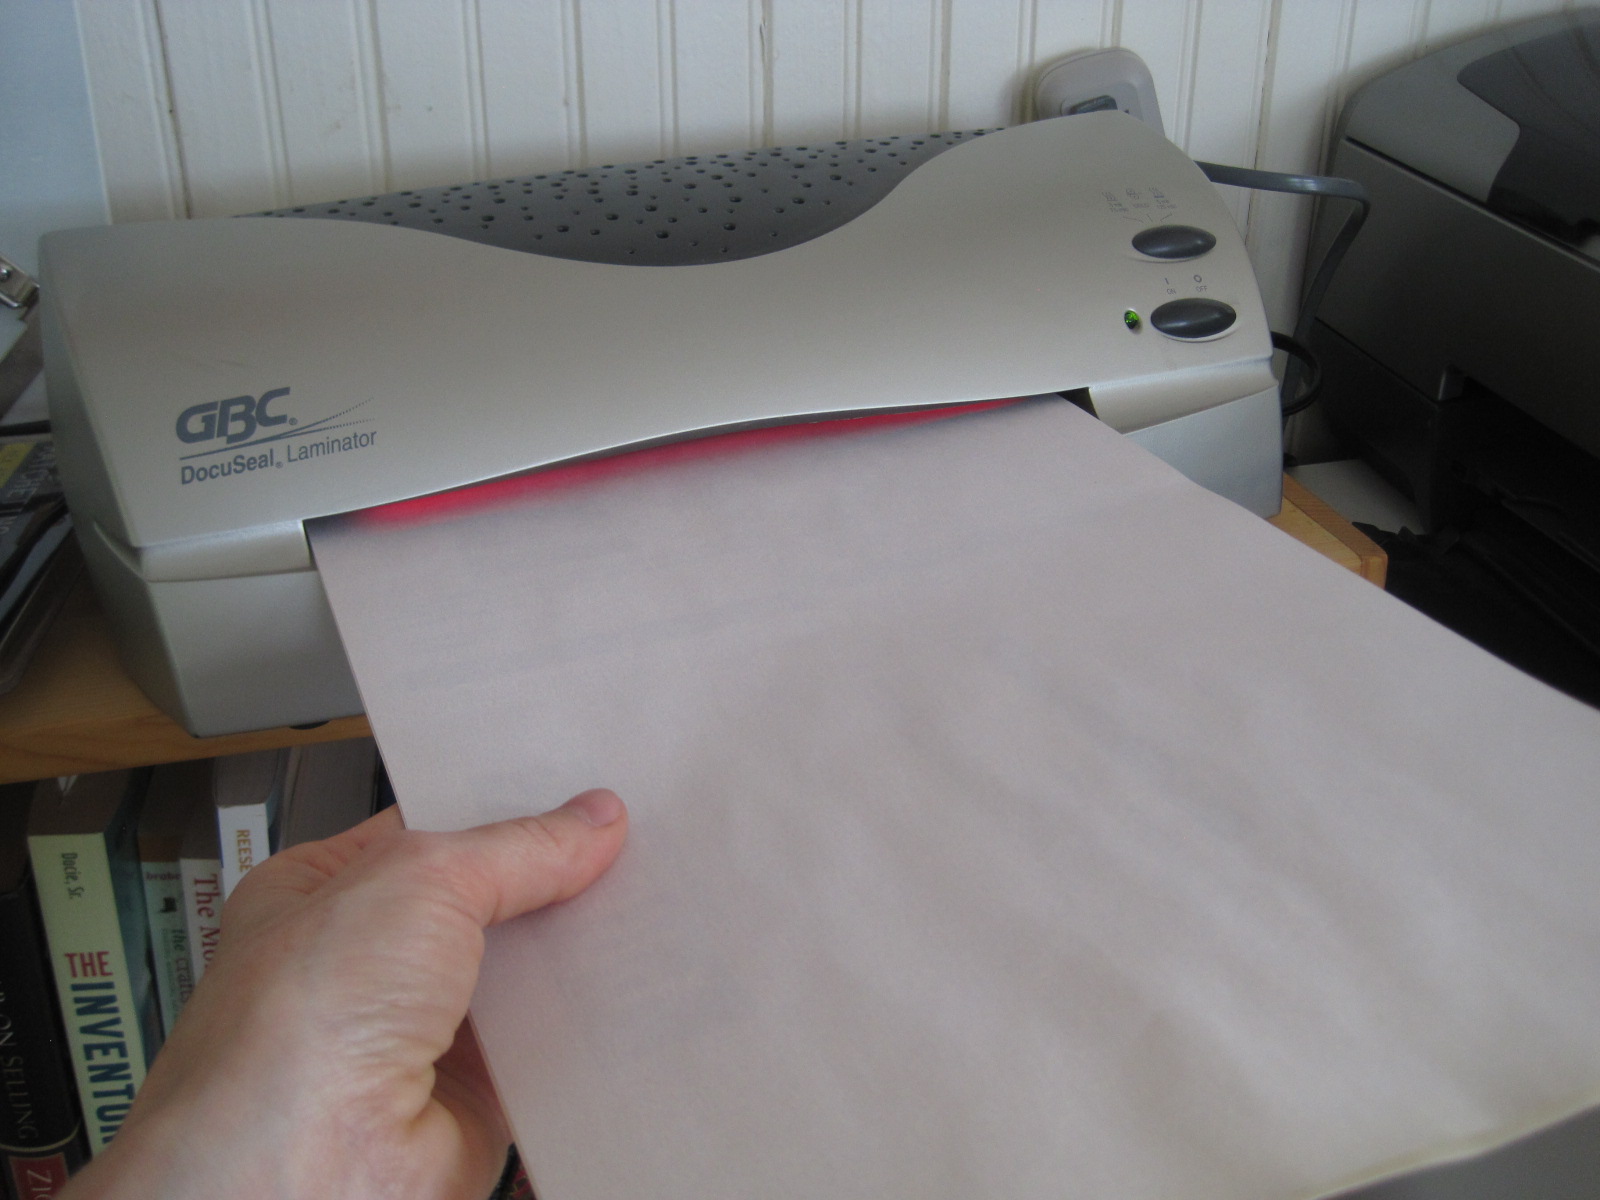 |
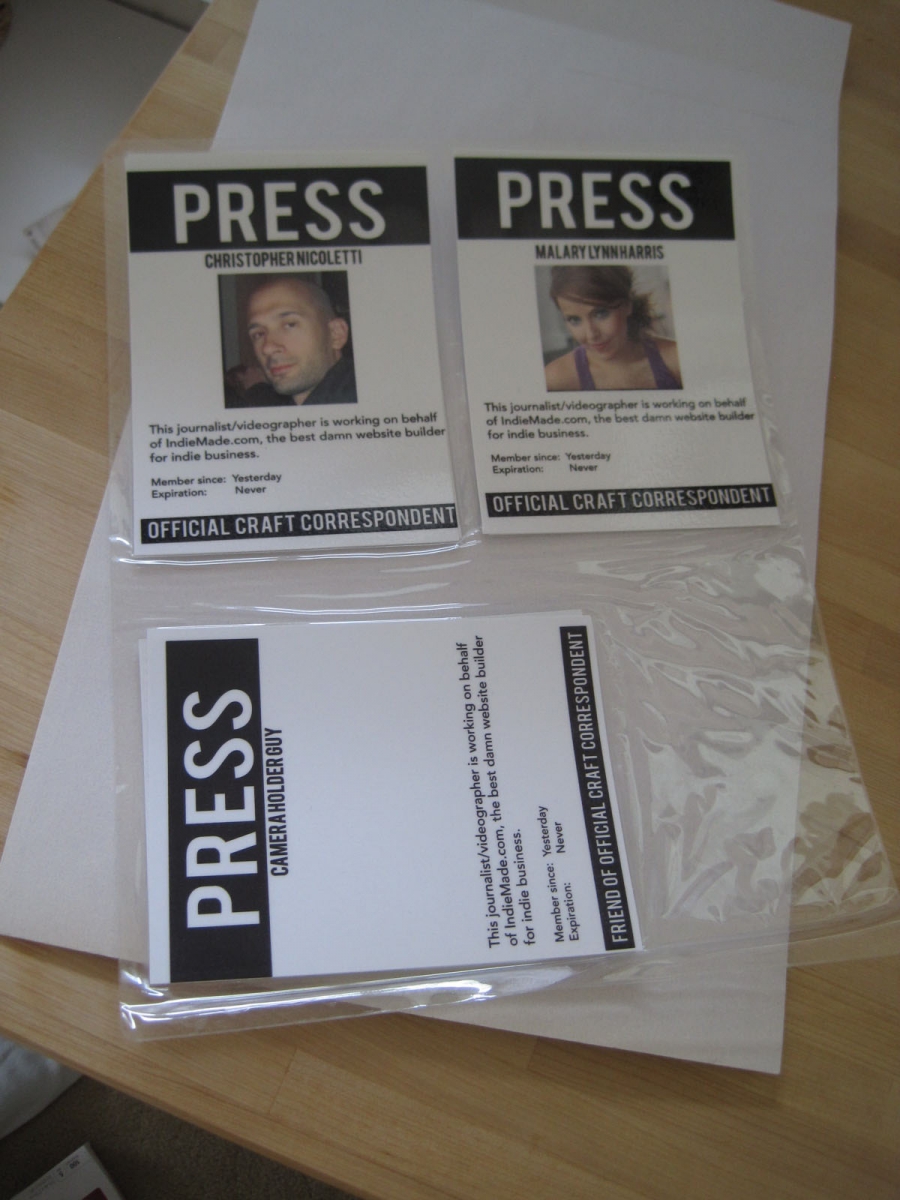
| Step Five: Check the press badges' design, both front and back. I often throw mine through the laminator a couple of times to get a good seal on all sides.
|  |
| Step Six: Punch holes, and your press badges are done!
Bonus Step: Find an awesome chain, rope, shoe string to hang the press badges on. | 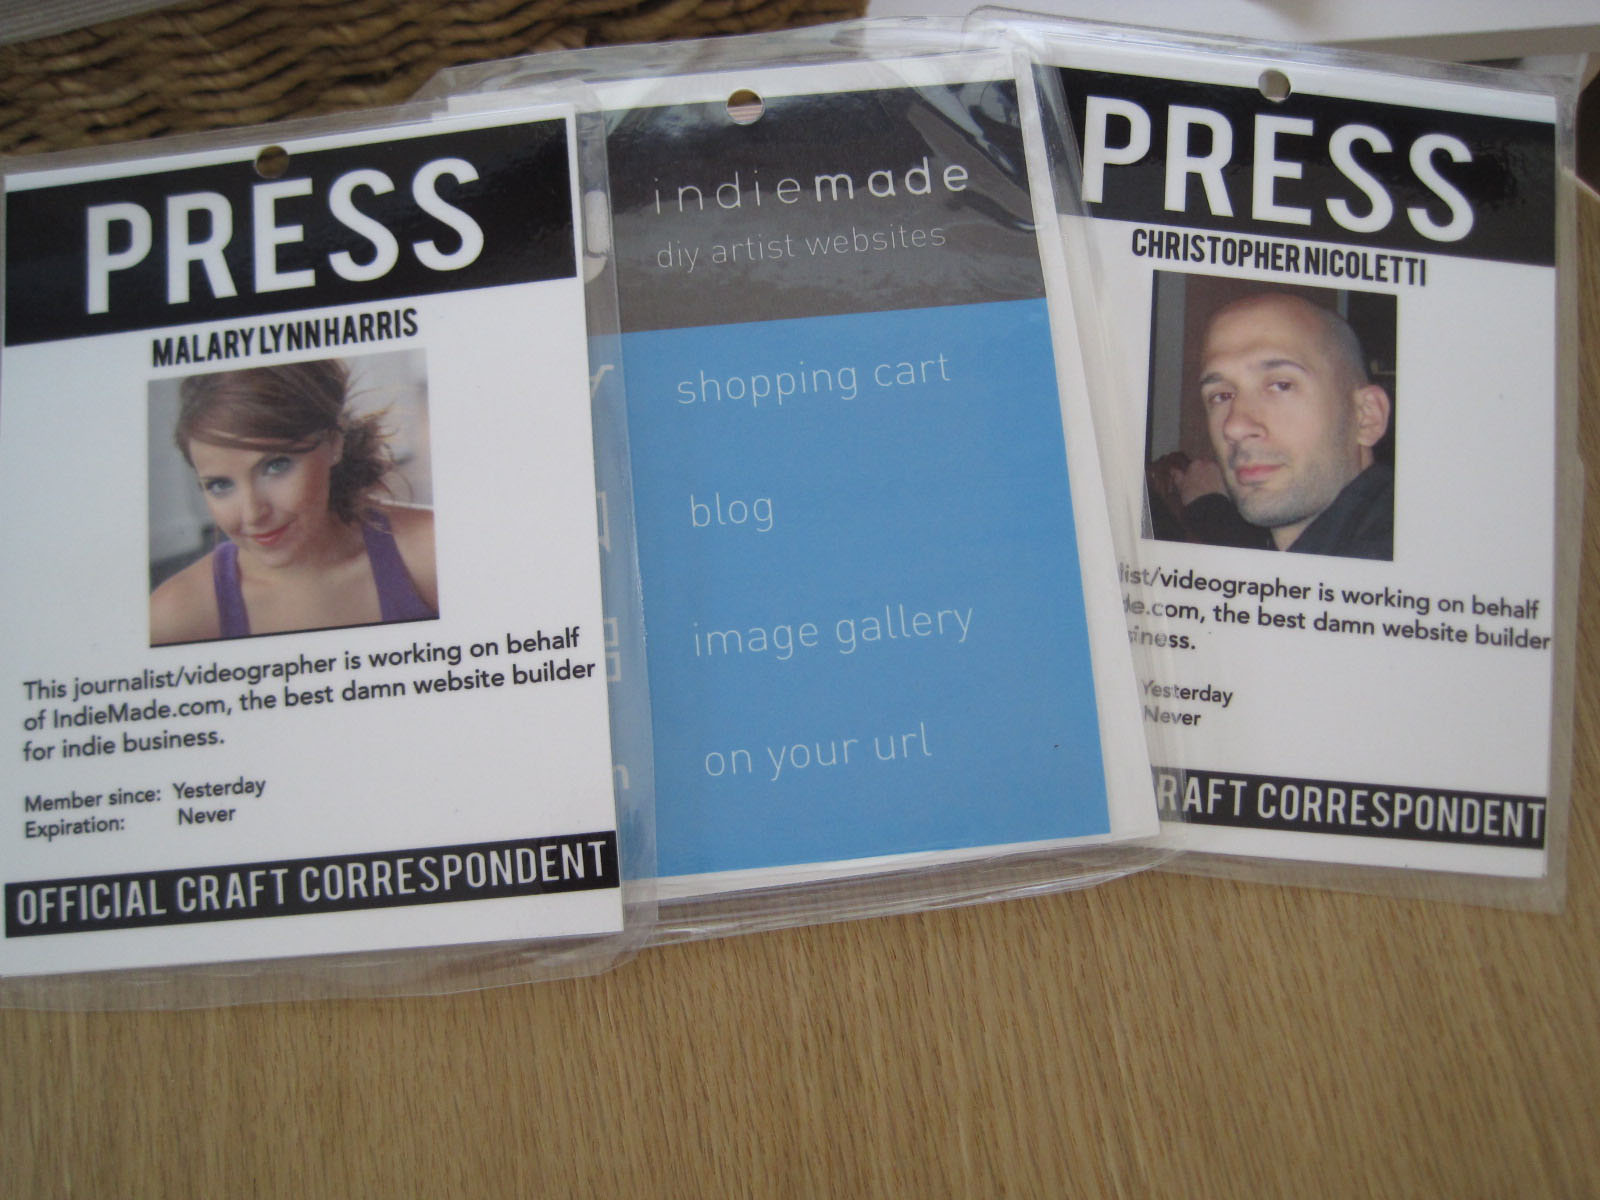 |
| Here are some product tags I did for Teetersaw Tuckins dolls:
|  |
Stay Tuned: Footage from Renegade on our blog! We want to feature you!
IndieMade® is a website builder. We write and capture original content for our free resources for artists: copy, photos and video.


